Motorcycle mirrors are an essential safety feature, allowing riders to maintain a clear view of the road behind. However, many riders face the frustrating issue of 10mm motorcycle mirrors becoming loose and difficult to keep in place. This problem, if left unresolved, can compromise both safety and convenience. In this comprehensive guide, we’ll explore the causes behind this common issue and provide step-by-step instructions to ensure your mirrors stay secure during every ride.
Why Do 10mm Motorcycle Mirrors Become Loose?
Understanding why your 10mm motorcycle mirrors are hard to get tight enough to stay is the first step to solving the problem. Several factors can contribute to this issue:
- Vibration and Road Impact: Continuous vibrations from the engine and uneven road surfaces loosen screws and bolts over time.
- Improper Installation: Incorrect tightening techniques can fail to secure the mirror adequately.
- Wear and Tear: Older mirrors may have degraded threads or worn-out locking mechanisms.
- Inadequate Tools: Using the wrong size wrench or insufficient force can leave bolts under-tightened.
- Misalignment: Adjusting the mirror without loosening the bolts properly can weaken its stability.
Each of these factors is preventable with proper knowledge and maintenance.
Tools and Materials Needed for Tightening
To successfully secure your mirrors, gather the following tools and materials:
| Tool/Material | Purpose |
|---|---|
| Adjustable Wrench | Tightening bolts and nuts |
| Thread Locker (e.g., Loctite) | Prevents bolts from loosening over time |
| Torque Wrench | Ensures proper torque specifications |
| Screwdriver | Tightening screws in the pivot mechanism |
| Lock Washers | Adds grip to prevent rotation |
| Cleaning Supplies | Removes debris before installation |
Having these tools ready will save time and ensure a secure installation.
Step-by-Step Guide to Fixing 10mm Motorcycle Mirrors
1. Inspect the Mirror Assembly
Before tightening, carefully examine the mirror, stem, and mount for signs of wear or damage. Look for rust, stripped threads, or missing components. Clean the parts to remove any dirt or grease that might hinder secure fastening.
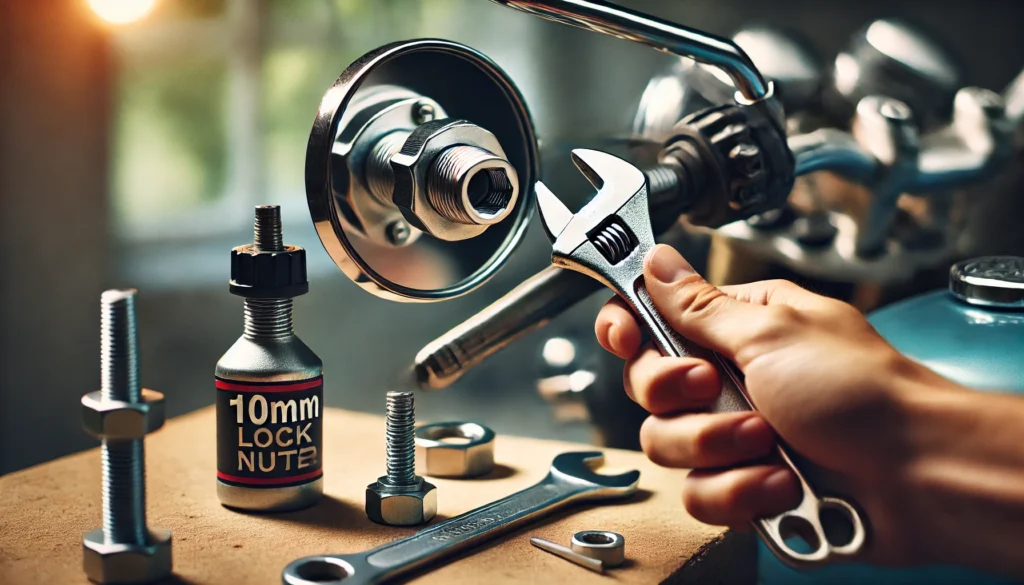
2. Secure the Mounting Bolt
Identify the base where the mirror stem attaches to the handlebar. Use an adjustable wrench to tighten the 10mm mounting bolt clockwise. Ensure that you do not overtighten, as this could strip the threads or damage the mount.
3. Adjust the Lock Nut
Most motorcycle mirrors have a lock nut situated near the mirror head. Turn this nut using a wrench to lock the mirror in place. A slight tightening (about a quarter-turn) is often sufficient to eliminate movement without overtightening.
4. Apply Thread Locker
For long-term stability, apply a drop of thread locker to the mounting bolt threads. This adhesive will prevent the bolt from loosening due to vibrations. Allow the adhesive to cure as per the manufacturer’s instructions before riding.
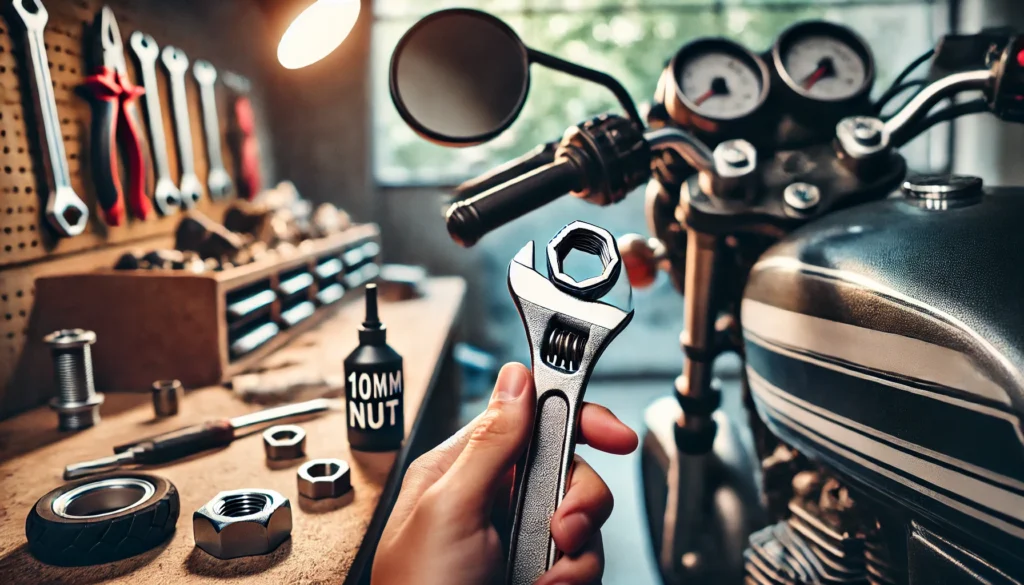
5. Align the Mirror
Adjust the mirror to your preferred angle. Ensure the adjustment mechanism (pivot point) is also tightened appropriately using a screwdriver or wrench. Test the mirror’s movement to confirm it is stable but adjustable as needed.
6. Test the Stability
After securing the mirror, take your bike on a test ride over various terrains. This helps confirm that the mirror remains stable under normal riding conditions.
Preventative Measures
Prevent future issues by following these maintenance tips:
- Perform Regular Inspections: Check your mirrors before each ride for any signs of looseness.
- Use Anti-Vibration Accessories: Rubber dampers or vibration-resistant mounts can reduce mirror movement.
- Avoid Overloading the Mirrors: Placing heavy items like cameras on your mirrors can strain their stability.
- Follow Torque Specifications: Use a torque wrench to tighten bolts to the manufacturer’s recommended specifications.
- Replace Damaged Components: Worn or damaged mirrors should be replaced promptly to avoid further issues.
Troubleshooting Persistent Issues
If the problem persists, consider the following solutions:
- Examine the Thread Condition: Stripped threads may require re-tapping or replacing the bolt and mount entirely.
- Upgrade to Aftermarket Mirrors: Some aftermarket options are designed to resist vibration and provide better stability.
- Professional Assistance: Consult a mechanic if the problem lies in the mounting bracket or handlebar threads.
FAQs
- Can I use a lubricant instead of thread locker? Lubricants reduce friction but do not prevent loosening. Use thread locker for long-term stability.
- How often should I check my motorcycle mirrors? Check mirror stability as part of your pre-ride inspection routine.
- What are the benefits of anti-vibration mounts? They absorb engine and road vibrations, reducing wear and keeping the mirrors stable.
- Can worn-out mounts cause damage to the handlebar? Yes, loose or faulty mounts can lead to uneven wear on the handlebar over time.
- Do aftermarket mirrors fit all motorcycles? Most aftermarket mirrors are universal, but always check compatibility with your bike’s specifications.
Conclusion
Keeping your 10mm motorcycle mirrors tight and secure is critical for both safety and convenience. By understanding the causes of loose mirrors, using the right tools, and following proper maintenance practices, you can enjoy a stable and safe riding experience. Regular checks and preventative measures will save you time and frustration in the long run. Make sure to address mirror stability issues promptly to ensure every ride is as safe and smooth as possible.
Additional FAQs:
1. Why do my motorcycle mirrors shake even when they are tight?
Loose mirrors aren’t always the cause of shaking. High levels of vibration from the engine or uneven roads can also cause mirror shaking. Anti-vibration mounts, rubber washers, or aftermarket vibration-resistant mirrors can help reduce this issue.
2. How can I ensure that my 10mm motorcycle mirrors are properly aligned for visibility?
To ensure proper alignment, sit on your bike in your regular riding position and adjust the mirrors so that they provide a clear view of the road behind. A good rule is to have about two-thirds of the mirror showing the road and one-third showing your own arm or body.
3. Can rust or corrosion on the mirror mount affect stability?
Yes, rust or corrosion can weaken the mount, making it harder to tighten the mirrors effectively. Cleaning rust and applying anti-corrosion sprays or replacing damaged components is crucial for stability.
4. Is it possible to install a different size mirror on a 10mm mount?
Yes, it is often possible with the help of adapters. However, ensure the new mirror is compatible with your bike and doesn’t exceed weight limitations that could impact stability.
5. What should I do if the mirror threads on my handlebar are stripped?
If the threads are stripped, you can re-thread the handlebar mount using a tap and die set. Alternatively, you can install a thread insert or replace the mount altogether for a secure fit.
Recommended Articles:
Ikoku with Hammer Japanese Bronze Sculptures: History, Artistry, and Collecting Tips
Baton Rouge Mesothelioma Lawyer Vimeo: A Comprehensive Guide
Georgiafentis St John Chrystostom – A Comprehensive Guide to the Melkite Catholic Church in Atlanta
Yummeez Hanf Squeezie 100g: The Ultimate Guide for Dog Owners
10mm Motorcycle Mirrors Hard to Get Tight Enough to Stay – Fixed